DIY Onion Flakes: Tastier & Preservative-Free Flavor for Your Dishes
Are you tired of store-bought onion flakes that lack a vibrant punch, often laden with anti-caking agents and preservatives? Do you find yourself with an abundance of fresh onions from your garden harvest, or perhaps a few forgotten bulbs starting to look a little less than perfect? Then it's time to discover the incredibly rewarding process of making your own homemade onion flakes! This simple yet transformative kitchen skill not only helps reduce food waste but also elevates your cooking with a concentrated, sweet, and undeniably fresh onion flavor that commercial varieties simply can't match. Making your own onion flakes is a fantastic way to capture the essence of peak-season onions, extending their usability for months, if not longer. It’s a step towards greater self-sufficiency in the kitchen, giving you complete control over the quality and ingredients that go into your food. Forget the worry of what unknown additives might be in your pantry staples; with DIY onion flakes, you’re getting pure, unadulterated onion goodness. Let's dive into *how to make onion flakes* that will revolutionize your spice rack.The Unbeatable Benefits of Homemade Onion Flakes
Beyond the sheer satisfaction of creating something delicious from scratch, there are compelling reasons why you should consider making your own dried onion flakes.- Superior Flavor & Aroma: Store-bought onion flakes, while convenient, often lose a significant amount of their aromatic compounds during processing and prolonged storage. Homemade flakes, especially when made from freshly harvested or high-quality onions, retain a far richer, sweeter, and more intense flavor profile. As seasoned horticulturist Kéven Prescott notes, using red onions specifically yields a remarkably sweet character that’s delicious even on its own.
- Preservative-Free Purity: A major advantage of dehydrating your own onions is knowing exactly what you're consuming. Commercial onion flakes often contain anti-caking agents, fillers, or other additives to maintain texture and shelf life. Your homemade version will be 100% pure onion, offering a cleaner, healthier alternative.
- Cost-Effective & Waste Reduction: If you're a gardener with a bountiful onion harvest, or if you regularly buy onions in bulk, dehydrating them is an excellent way to prevent spoilage and save money. Instead of discarding onions that are beginning to sprout or soften, you can transform them into a valuable pantry staple. This aligns perfectly with the principles of food self-sufficiency, turning your garden's bounty into long-lasting provisions. If you're looking to turn your garden's yield into sustainable food products, explore how to Transform Garden Onions: Easy Flakes for Food Self-Sufficiency.
- Versatile Culinary Powerhouse: Dehydrated onion flakes are incredibly versatile. They can be sprinkled directly into dishes, rehydrated for a fresh onion taste, or even ground into homemade onion powder. This versatility makes them an indispensable ingredient for everyday cooking, camping meals, or emergency food supplies.
Choosing Your Onions and Essential Preparation
The journey to perfect onion flakes begins with selecting the right onions and preparing them meticulously.Selecting Your Onions
While you can dehydrate any type of onion, some varieties yield better results and flavors for flakes.- Red Onions: Highly recommended for their inherent sweetness. When dehydrated, this sweetness becomes wonderfully concentrated, making them ideal for both savory dishes and even as a standalone snack.
- Yellow/Brown Onions: These offer a more pungent, classic onion flavor, excellent for a savory base in soups, stews, or casseroles.
- White Onions: Tend to be milder and crisp, suitable if you prefer a less intense onion flavor in your flakes.
Preparation is Key
Once you've selected your onions, the preparation process is straightforward but crucial for even drying.- Peel Thoroughly: Remove all the papery outer layers and any bruised sections.
- Clean & Quarter: Give the peeled onions a quick rinse, then cut them into quarters.
- Chop or Slice Evenly:
- For Flakes (minced onion): Place the onion quarters into a food processor and pulse until roughly chopped into small, even pieces. Avoid over-processing into a paste. Aim for pieces that are consistent in size, around 1/4 inch or slightly smaller, for even drying.
- For Decorative Slices: If you desire thin, crisp onion rings or slices for garnishing, use a mandoline slicer. Aim for very thin, even slices (about 1/8 inch thick). Be extremely careful when using a mandoline, always using the safety guard.
Step-by-Step: How to Make Onion Flakes Using Dehydrator & Oven
Now for the main event: transforming your prepared onions into those delicious, crunchy flakes. We'll cover two primary methods: using a food dehydrator and using your oven. Both are effective, with slight differences in efficiency and control. For a detailed comparison and more insights into these techniques, check out our guide on Homemade Onion Flakes: Dehydrator & Oven Methods for Preservation.Dehydrator Method (Recommended for Best Results)
A food dehydrator offers precise temperature control and consistent airflow, making it the most efficient and reliable method for drying onions.- Prepare Trays: Line your dehydrator trays with parchment paper or silicone mats, especially if your onion pieces are very small, to prevent them from falling through.
- Spread Evenly: Distribute the chopped or sliced onion pieces over the trays in a single, even layer. For chopped flakes, aim for about 1/4 inch thick. For slices, ensure they don't overlap too much to allow for maximum air circulation. Overlapping can lead to uneven drying and potential mold spots.
- Set Temperature: Set your dehydrator to 125-150°F (52-66°C). Lower temperatures might take longer but preserve more nutrients and flavors. Higher temperatures speed up the process but require more vigilant monitoring.
- Dehydrate Until Crisp: The drying time can vary significantly based on the humidity in your environment, the thickness of your onion pieces, and the dehydrator model. Expect anywhere from 4 to 12 hours. The onions are ready when they are completely dry, brittle, and snap easily when you try to bend them. If they are still pliable or soft, they need more time.
- Condition (Optional but Recommended): Once dry, allow the flakes to cool completely. Then, transfer them to an airtight container (like a glass jar) for a few days, shaking it daily. This "conditioning" process helps redistribute any remaining moisture, revealing any pieces that aren't fully dry. If you notice condensation or any signs of moisture, put them back in the dehydrator.
- Final Processing (for flakes): If you chopped your onions with a food processor initially, you might find some pieces clumped together or larger than desired after drying. You can pulse them again in a clean, dry food processor to break them up into uniform flakes.
Oven Method (A Great Alternative)
If you don't have a dehydrator, your oven can do the job effectively, though it requires a bit more attention.- Prepare Baking Sheets: Line large baking sheets with parchment paper to prevent sticking and make cleanup easier.
- Spread Evenly: Arrange the chopped or sliced onions in a single layer on the prepared baking sheets. Crucially, avoid overcrowding and ensure minimal overlapping for optimal airflow and even drying.
- Set Oven to Lowest Temperature: The key to oven drying is using the absolute lowest temperature your oven can manage, ideally between 130-150°F (54-66°C). Higher temperatures will cook the onions rather than dehydrate them.
- Prop Oven Door (Crucial): If your oven's lowest temperature is above 150°F, or even if it's within range, it's vital to prop the oven door open slightly (using the handle of a wooden spoon works well). This allows moisture-laden air to escape, promoting proper dehydration and preventing the onions from steaming or cooking.
- Dehydrate & Monitor: Drying in an oven can take longer than in a dehydrator, typically 6-12 hours, possibly more. Check the onions hourly, rotating the baking sheets occasionally to ensure even drying. Flip the onion pieces periodically if possible.
- Test for Dryness: Like with the dehydrator method, the onions are done when they are completely dry, crisp, and brittle.
- Condition & Final Processing: Follow the same conditioning and final processing steps as for the dehydrator method to ensure maximum dryness and desired flake size.
Storing Your Homemade Onion Flakes and Culinary Inspiration
Once your onion flakes are perfectly dry and conditioned, proper storage is essential to maintain their quality and extend their shelf life.Storage Best Practices
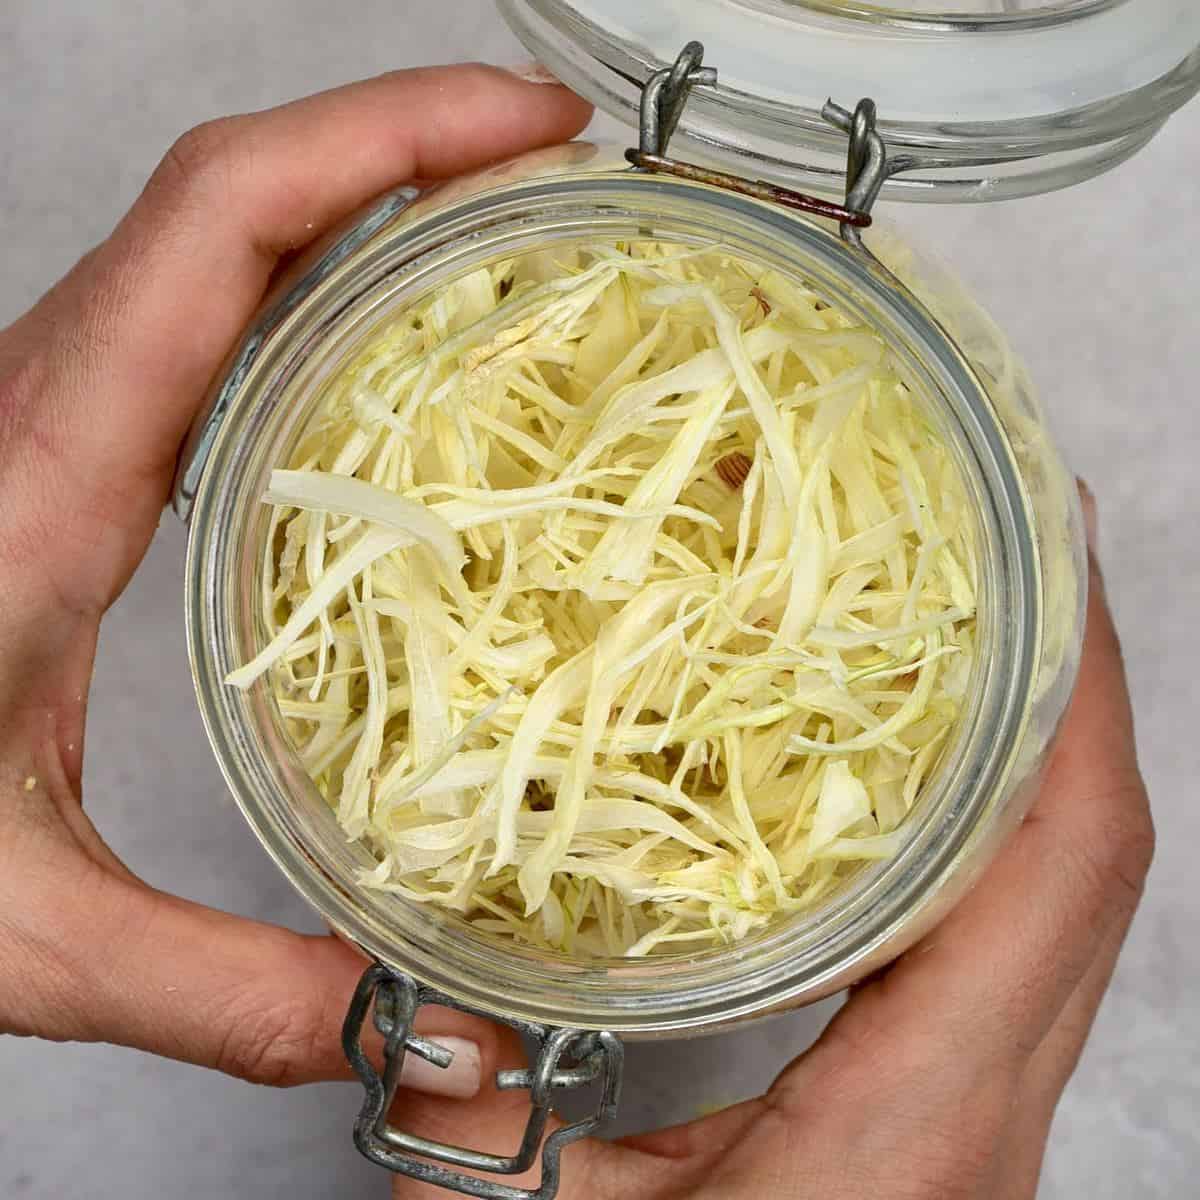
Store your homemade onion flakes in airtight glass jars or containers. Ensure the container is completely dry before filling. Keep them in a cool, dark, and dry place, away from direct sunlight and heat, which can degrade their flavor and color. A pantry or cupboard is ideal. Properly dried and stored onion flakes can last for 6 months to a year or even longer, retaining their potent flavor.
Culinary Inspiration: Elevating Your Dishes
The beauty of homemade onion flakes lies in their versatility. They're a secret weapon for adding a burst of onion flavor without the moisture of fresh onions or the blandness of commercial ones.
- Flavor Base: Add a tablespoon or two to soups, stews, chili, casseroles, or roasts. They'll rehydrate and infuse the dish with a rich, savory onion essence.
- Quick Seasoning: Sprinkle directly onto salads, eggs, sandwiches, popcorn, or even baked potatoes for an instant flavor boost. The sweet red onion flakes are particularly good for this.
- Homemade Spice Blends: Grind your flakes into a fine powder using a spice grinder or coffee grinder to make your own fresh onion powder. Combine with other dehydrated spices for custom rubs and seasonings.
- Marinades & Dressings: Rehydrate a small amount in a bit of warm water for 10-15 minutes, then add to salad dressings, marinades for meats, or sauces for a fresh onion kick.
- Baking & Breads: Incorporate into savory bread recipes, focaccia, or crackers for added texture and flavor.
- Camping & Emergency Meals: Their lightweight and long-lasting nature make them perfect for backpacking meals, emergency food kits, or whenever fresh onions aren't available.
